
Custom built-ins
LED Ceiling Feature
A ceiling feature is millwork plus light. We build the cove or tray so the diodes stay hidden, the wash is even, and the driver can be reached later. New wiring is completed by a licensed electrician.
Design references
Inspiration photographs and conceptual layouts. They are not published as Elite Craft Honor completed projects.
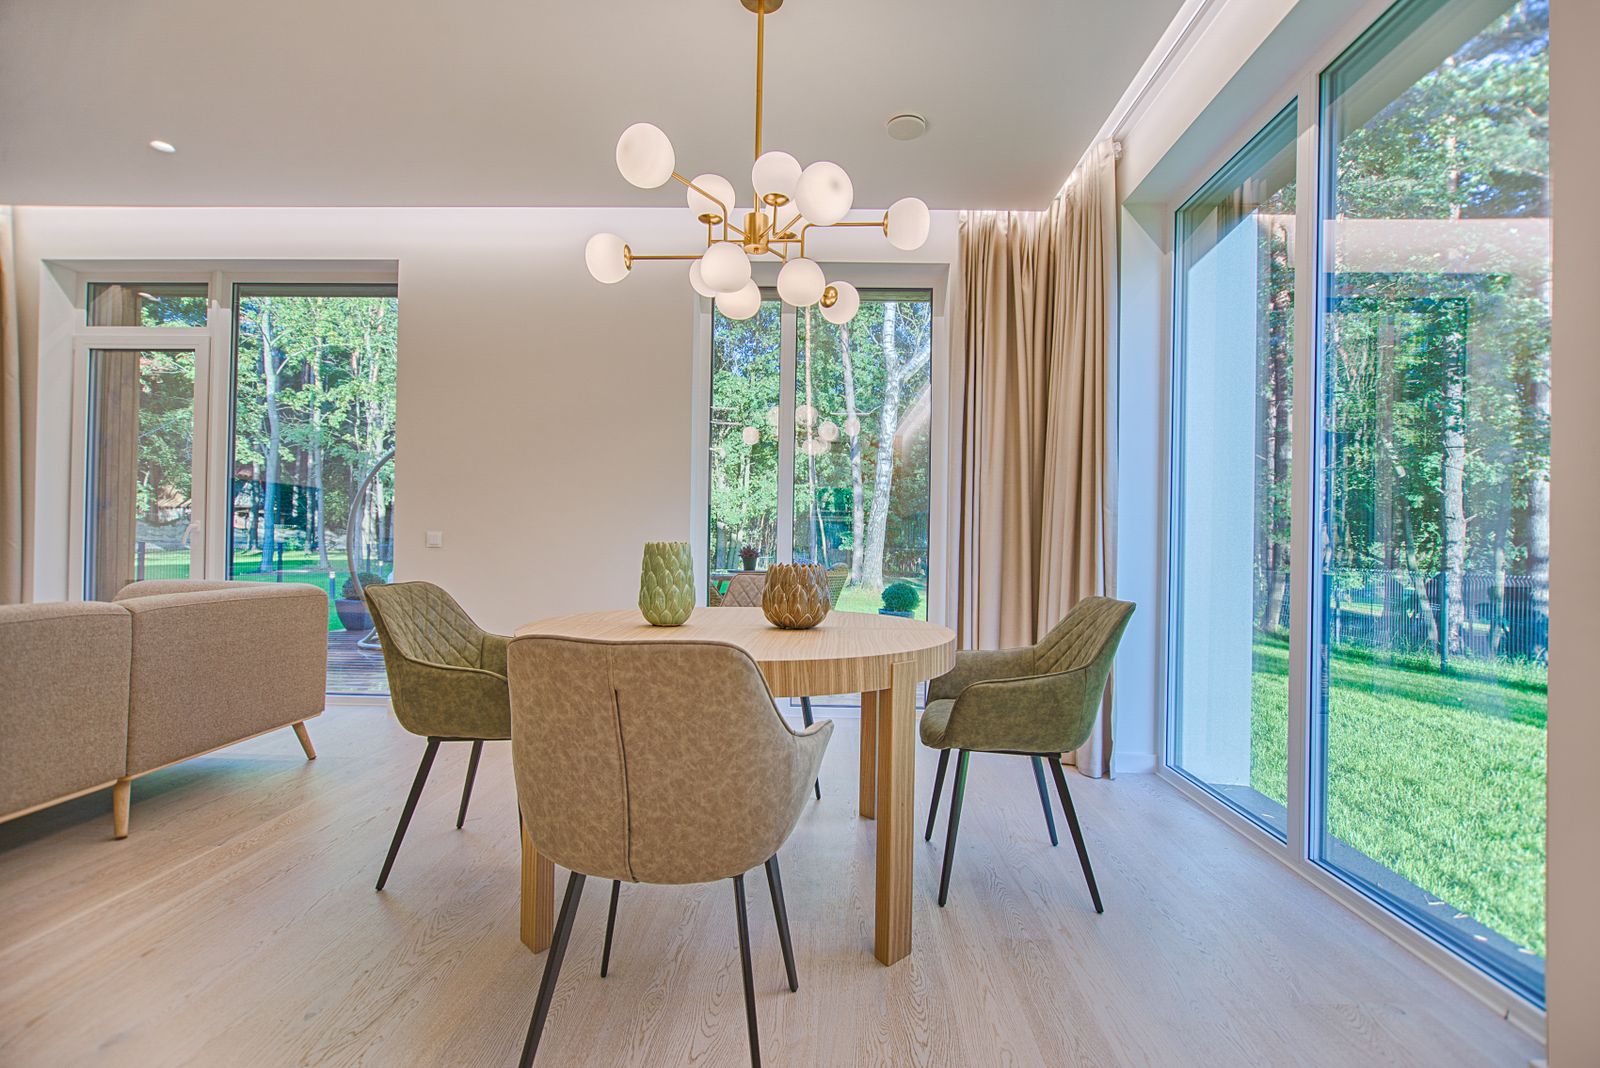
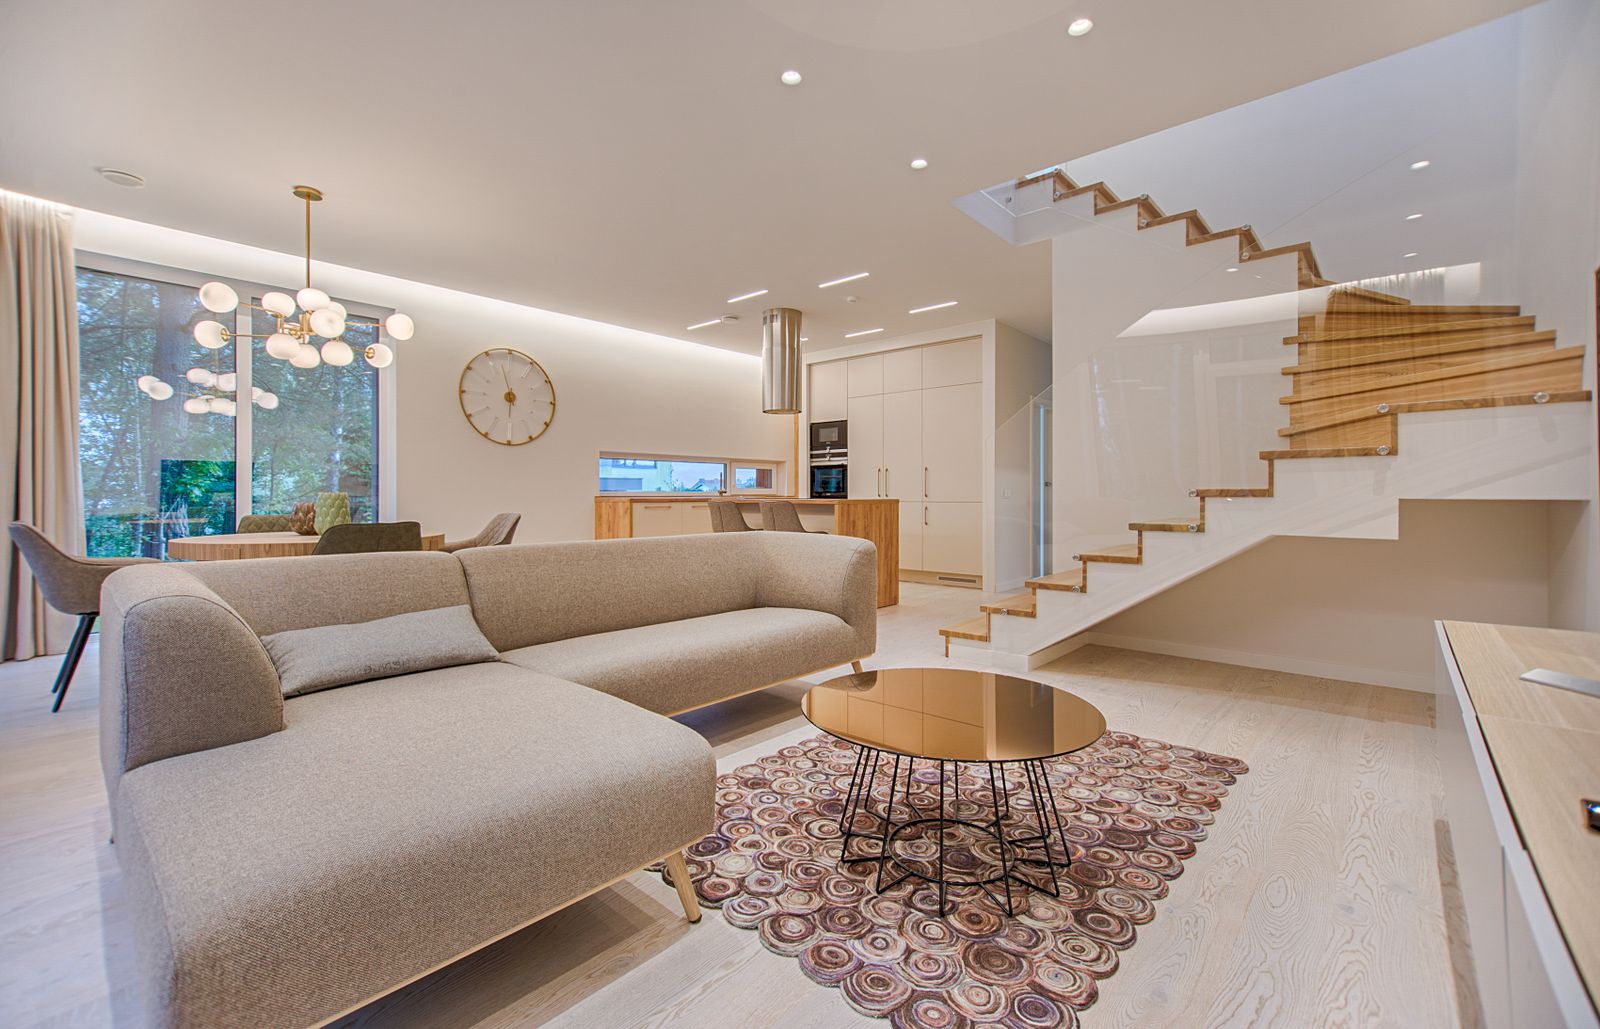
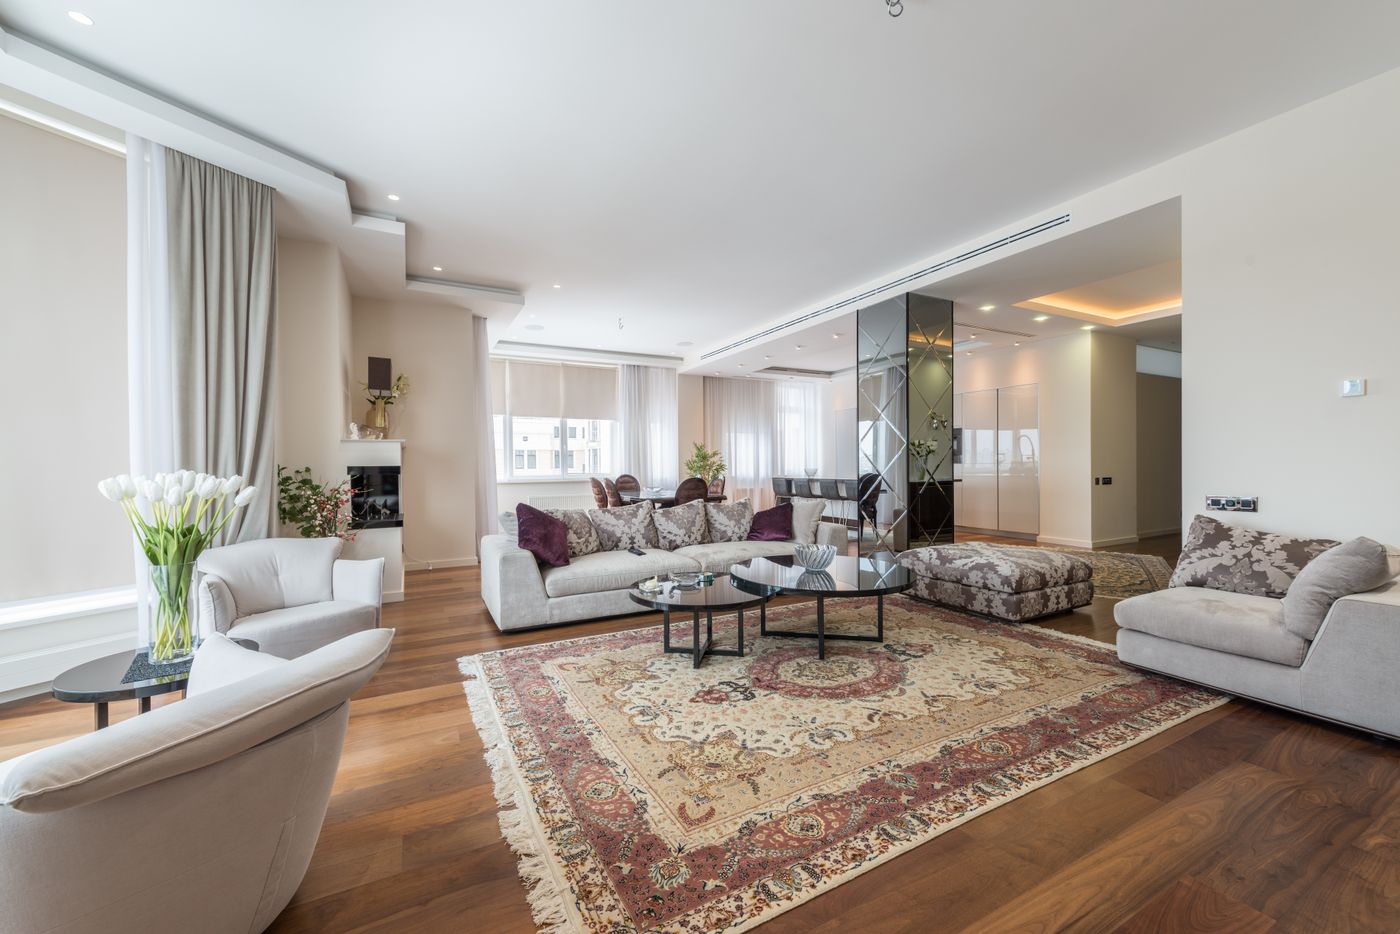
Conceptual blueprint
Field measurements replace these typical ranges. Design visualizations are conceptual and are not architectural, structural or engineered plans.
How we build it
Define the effect
Perimeter wash, tray over a dining table, or a linear slot. Direct glare vs. indirect bounce changes the profile.
Measure the ceiling
Flatness, existing lighting, HVAC, and where a driver can live without being buried.
Specify the light
Warm, neutral, or cool LED, dimming method, and aluminum channel with a diffuser so you do not see dots.
Coordinate electrical
Line-voltage, new dimmers, or a new circuit are scoped with a licensed electrician. We do not treat millwork drawings as electrical plans.
Concept and estimate
You review a visual and a written scope for millwork plus lighting coordination.
Build the tray or slot
Corners first, then straight runs, sealed so light does not leak at joints.
Install and test
Strips and drivers go in before final closure. We check color match, dimming, and shadows.
Finish and walkthrough
Paint or wood faces, diffuser on, and a simple explanation of how you dim the feature.